Send Emails with NodeJs + Express Using SendGrid

In almost every web application, there is a need to add the functionality to send transactional emails in response to various event triggers like account registration, resetting of user passwords, invoices, purchase receipts and verification of users. We can accomplish these tasks through email service platforms such as SendGrid , Mailgun and Nodemailer which takes care of sending emails on our behalf.
What is SendGrid ?
SendGrid is a cloud-based SMTP provider that allows you to send email without having to maintain email servers. It provides two ways to send email:
- Through SMTP relay
- Through Web API.
Why SendGrid ?
There are a variety of email as a service platforms and APIs, such as SendGrid and Mailgun among others which allows you to send up to 100 emails per month for free. SendGrid is much more user friendly than other services. So in this article, I’ll demonstrate sending emails from within a NodeJs application using SendGrid Web API.
The ability to send emails from a NodeJs server is a very important thing to do in today's web applications since these emails are crucial for notifying users of important updates and enabling key user workflows in your application.
Send Emails
To start sending emails with SendGrid, the first step is to sign up for the service. Then you’ll need to create a SendGrid API key for sending email. Sign up here
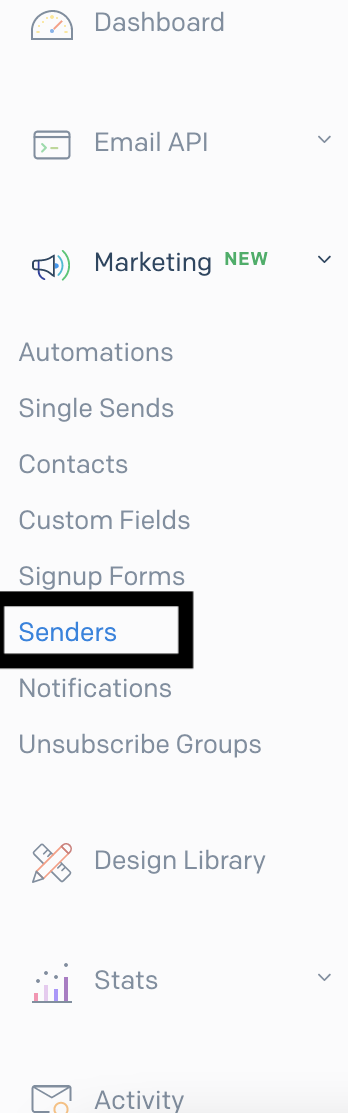
After creating an account we need to set up a sender id which is the email address that sendGrid is going to use to send emails on our behalf.
Set up the sender id by navigating to => Marketing => senders => create new sender (Use the name that the user will see when they get the verification/notification email, so something like customer service or the name of your app).
For example, if a user signs up on www.deff.com, we can set the sender’s id to be something like support@deff.com to deliver the email to the client.
create new sender

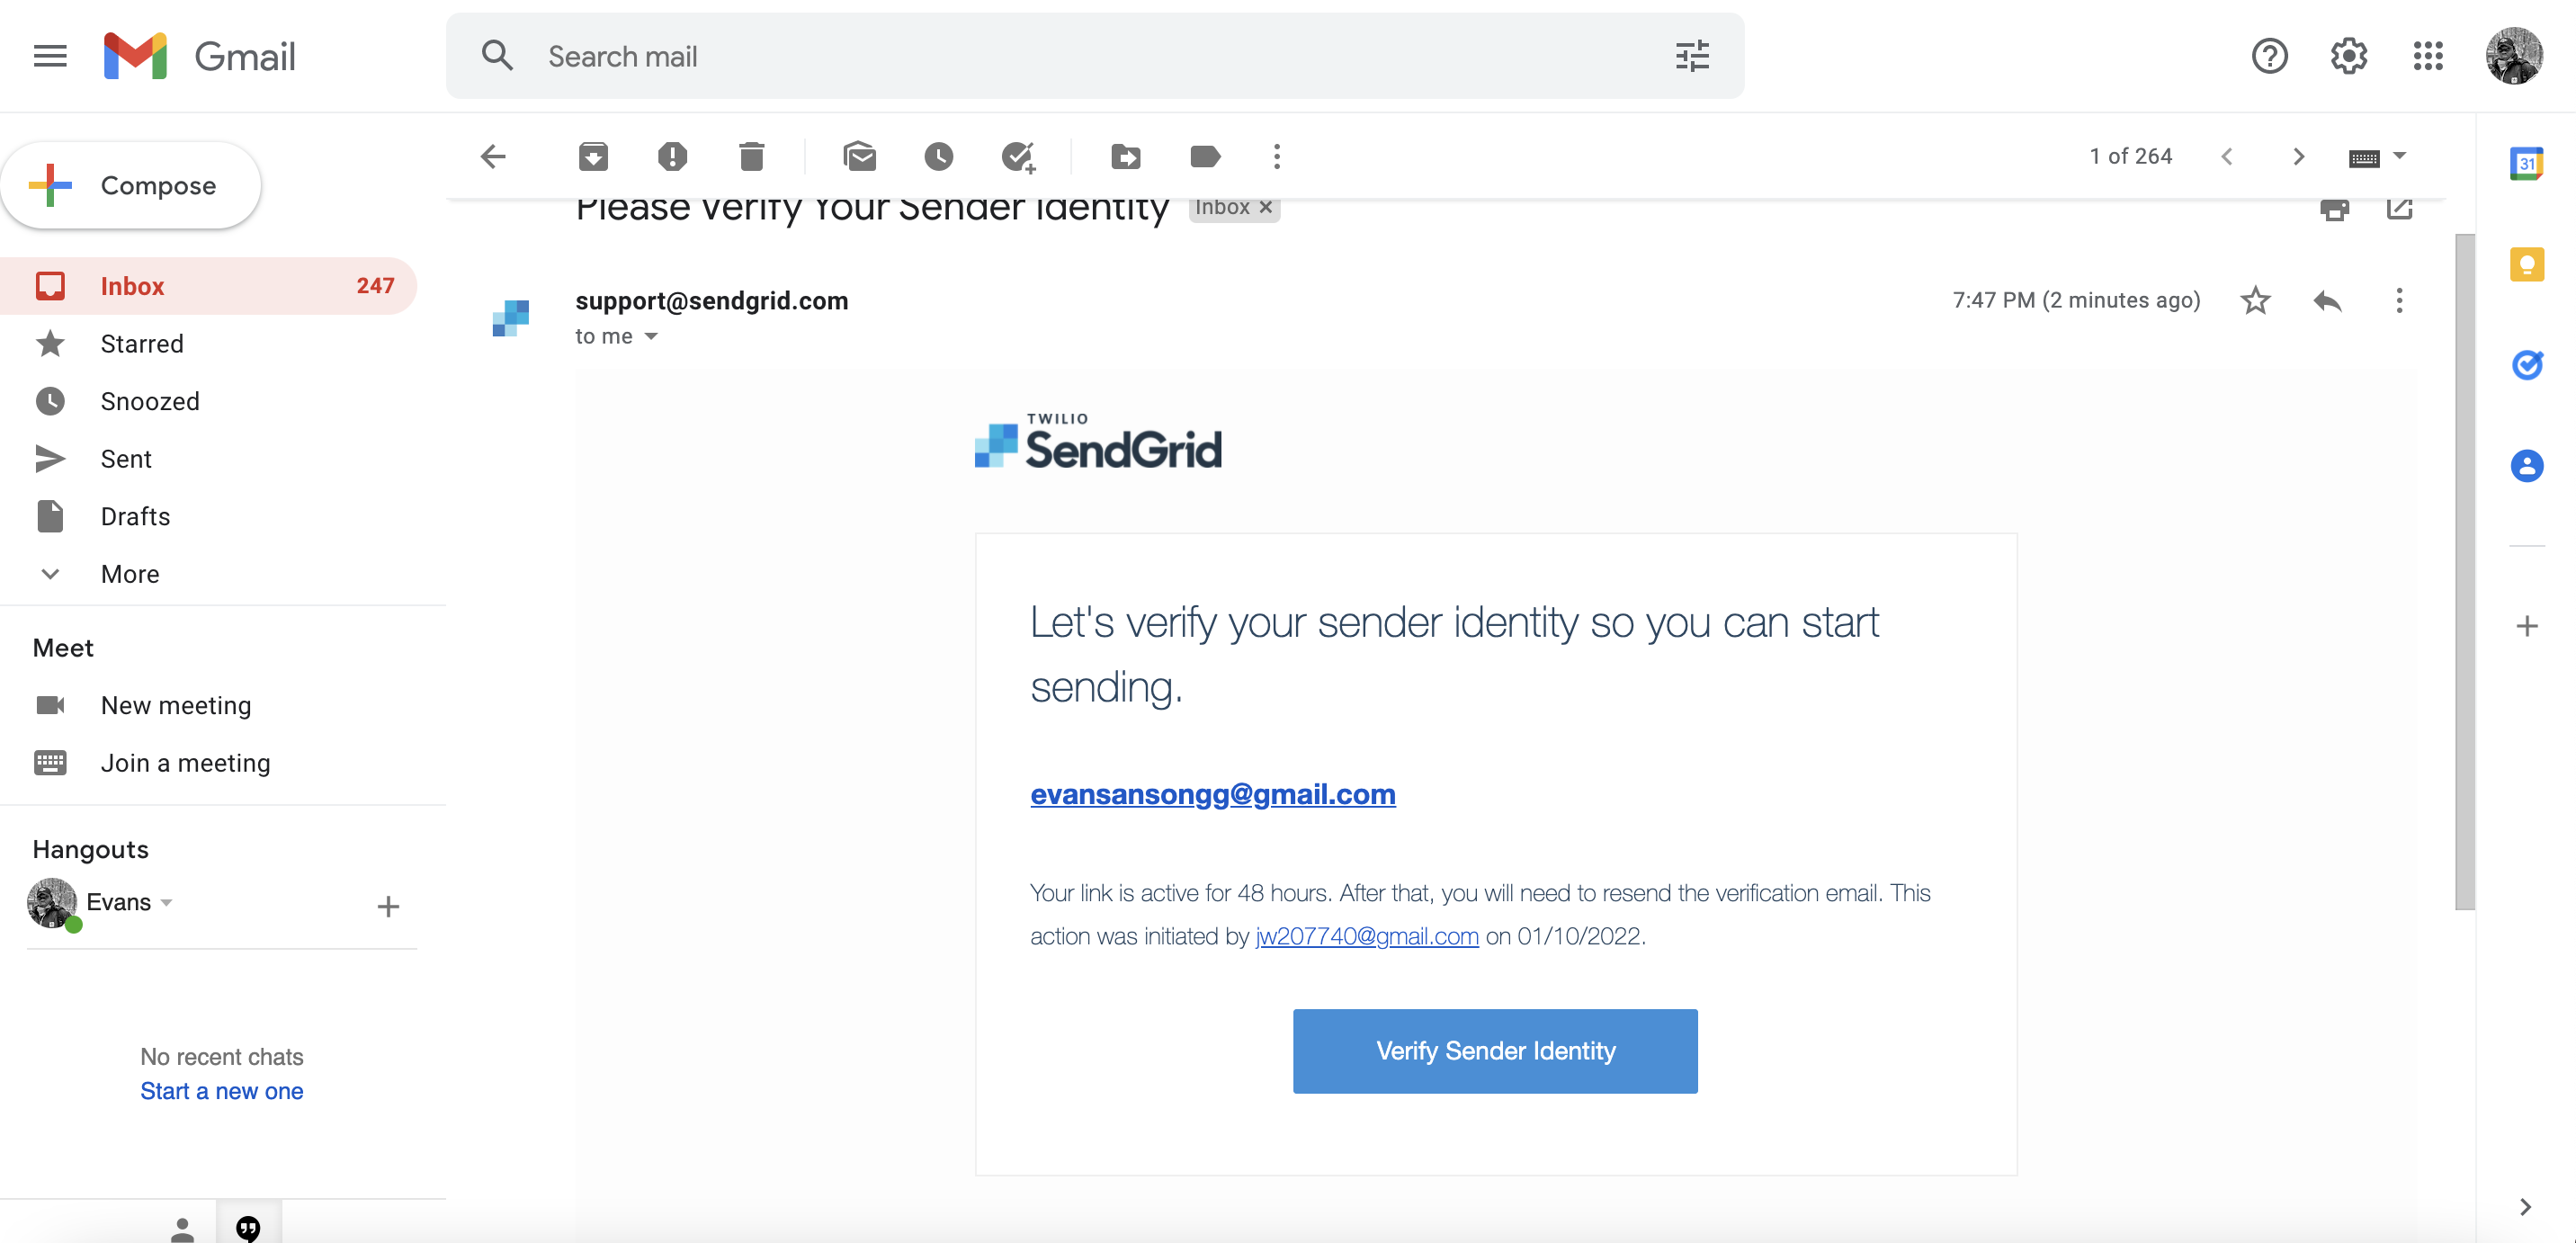
Fill up the form and once you are done hit save. The email address you used to set up the id needs to be verified so check your inbox and you should see the verification email, verify the sender's email to be able to start sending emails.
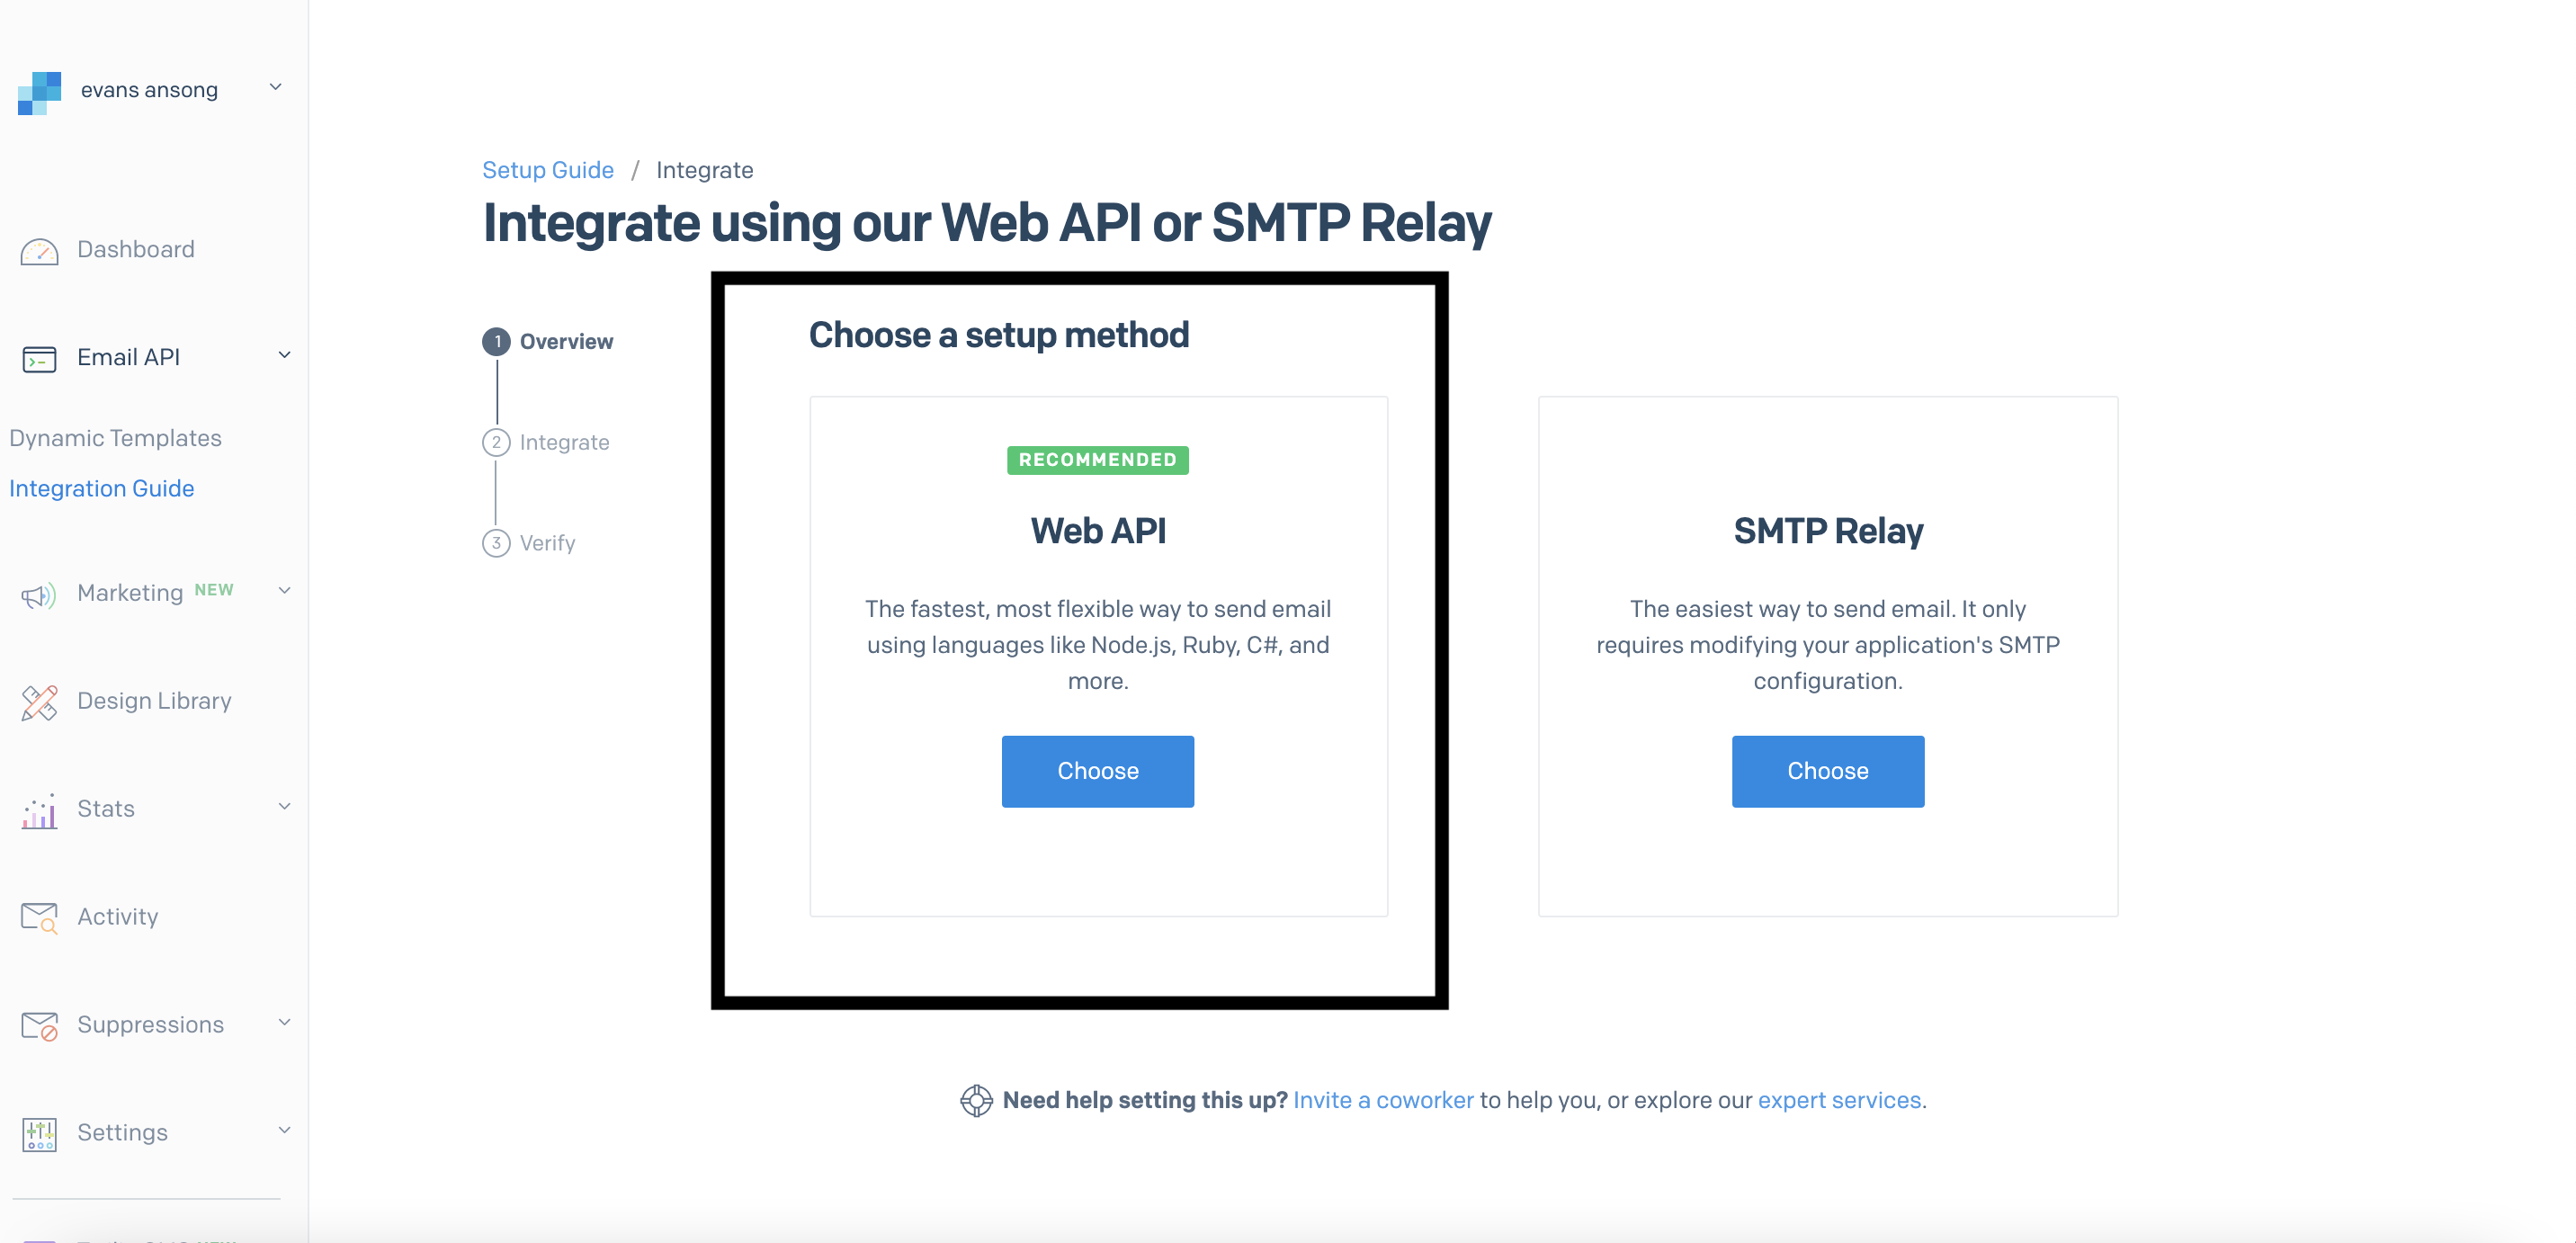
Once you are done verifying.We need to create an API Key that will allow our backend to send emails.
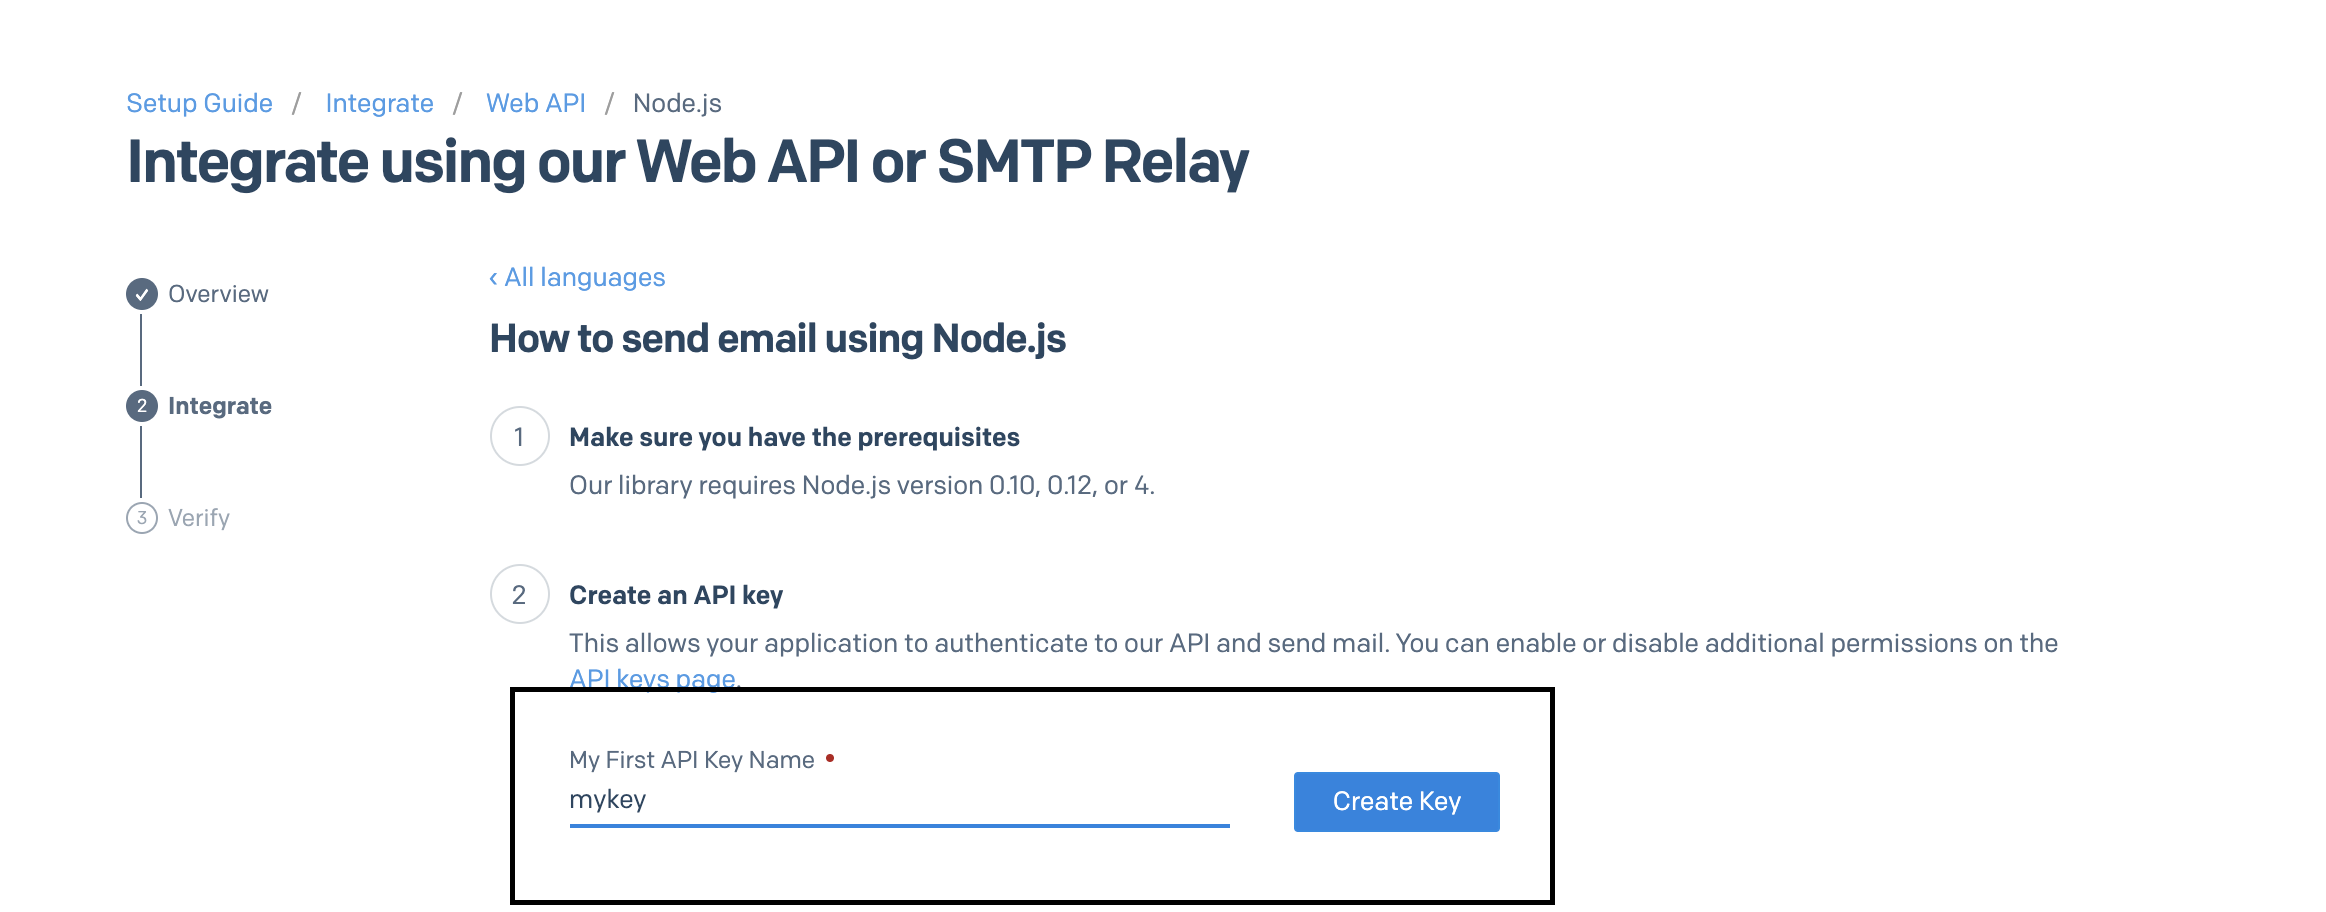
Create an API key by navigating to SendGrid’s dashboard, Email api => integration guide => web api =>nodejs. Give the key a name, then click “Create Key”. This will generate an api key for us which looks like this
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
Copy the key and keep it safe for later use (see images guide below).
Choose NodeJs
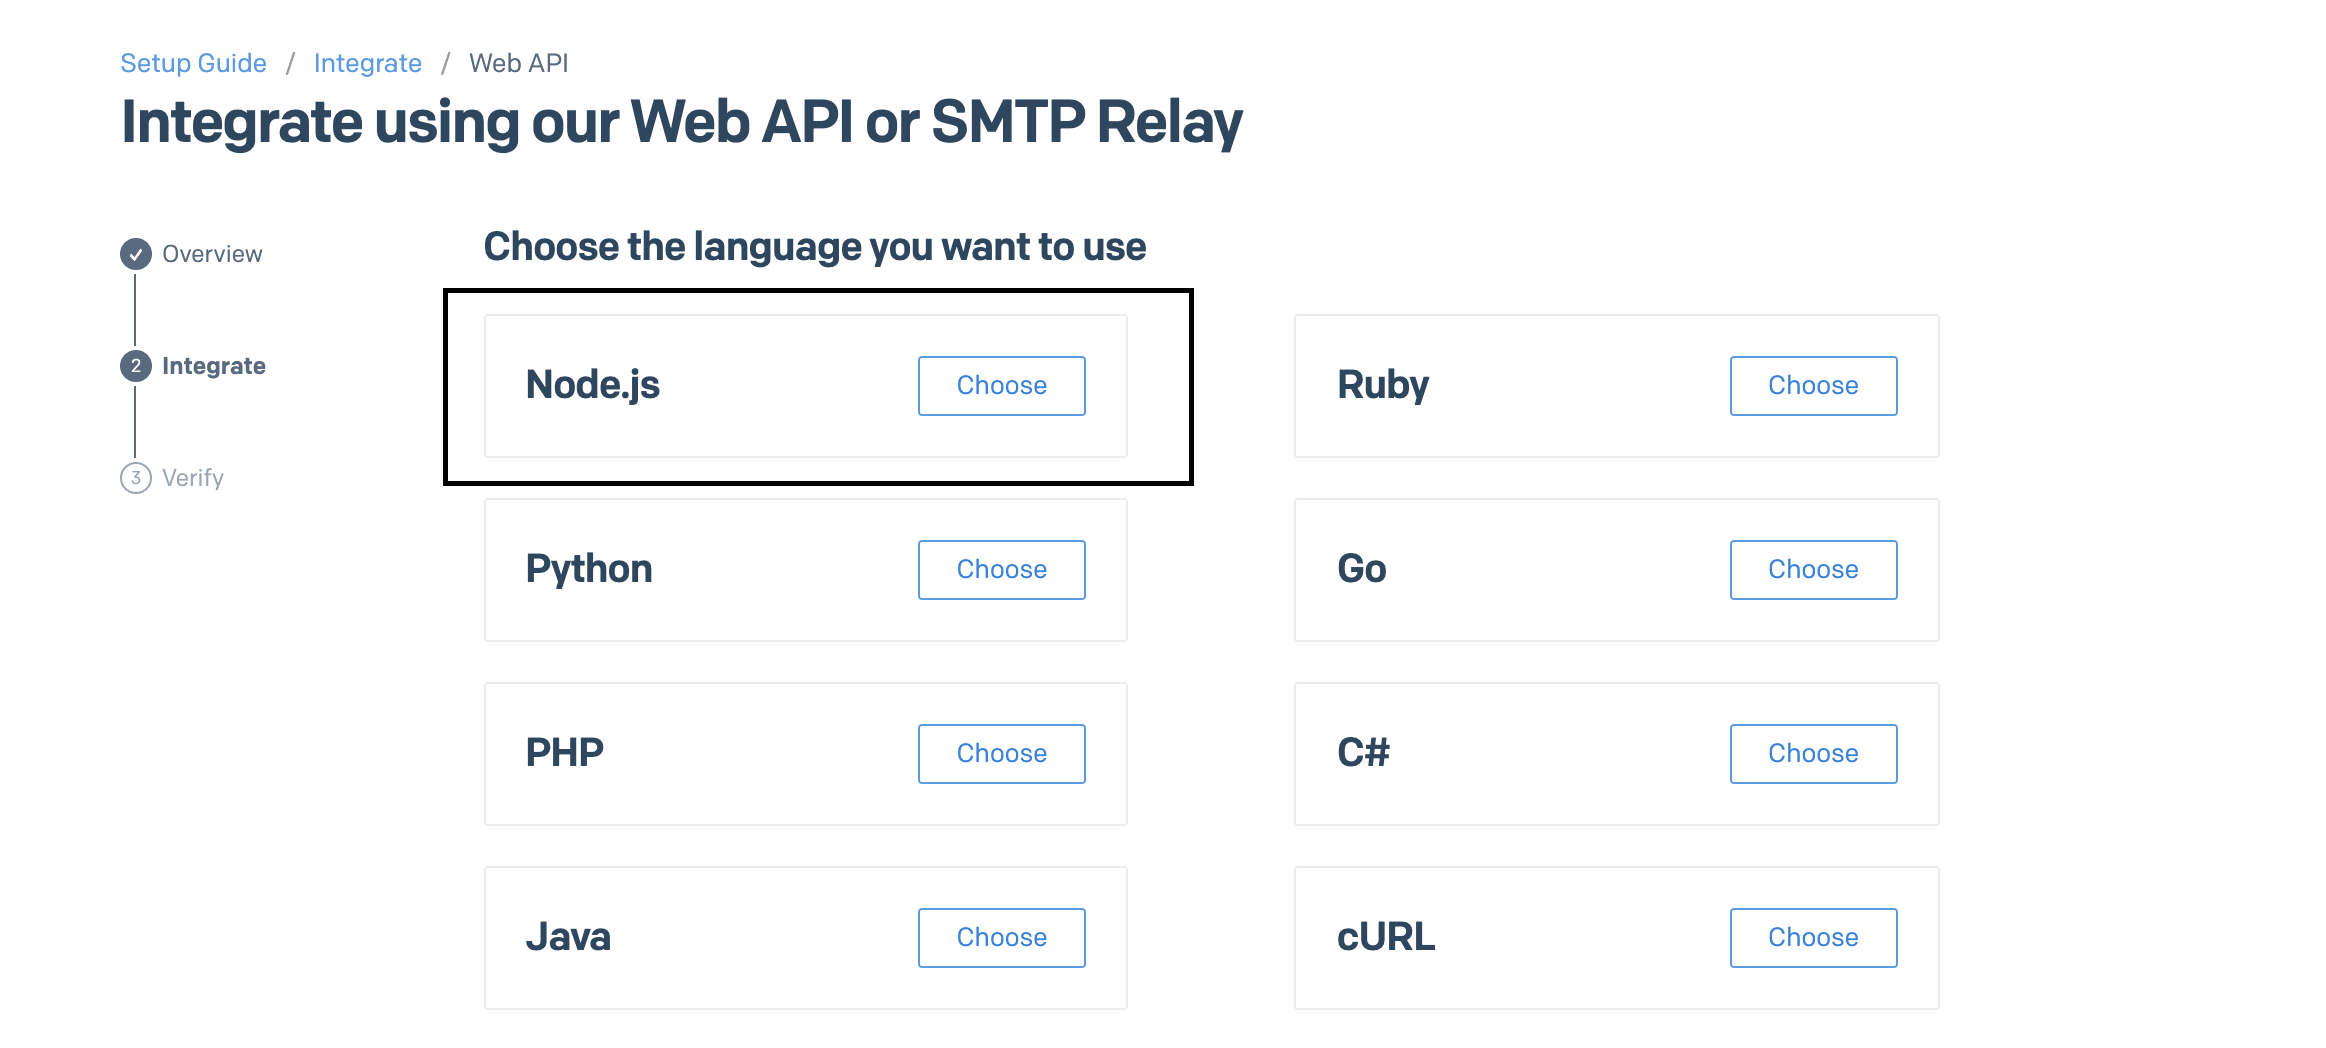
Next give the key a name and click Create Key this will generate the API Key.
Now scroll down and check ( I've integrated the code above) and hit next.
Great!! we are done setting up the email service, let's initialize a new project with git so we can integrate the functionalities, change directory to where you want to save your project and run this command:
git init
Follow the prompts, afterwards, we can install express, dotenv to set up the environment variables and SendGrid JavaScript client with npm:
npm install --save @sendgrid/mail express dotenv
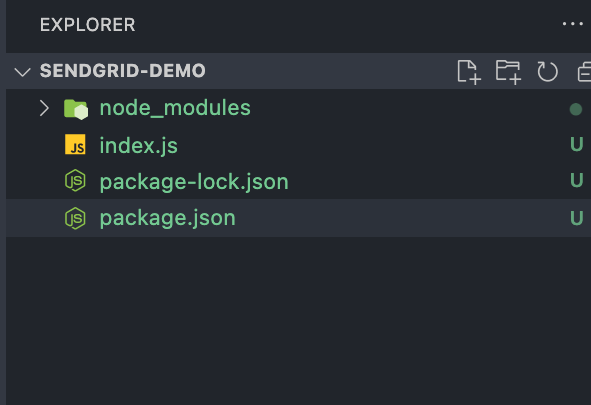
After these are done installing, we need to create a new index.js file to serve as the main file and paste the following code in it :
run this code :
touch index.js
This will create index.js file in the directory
Now open and paste this code in it :
const express = require ('express');
const app = express();
const port= 3000;


app.listen(port, () =>{
    console.log(`Server is listening on port ${port}`);
});
To make sure everything is good, we can run the development server with :
node index.js
If everything went well, you should see
Server is listening on port 3000
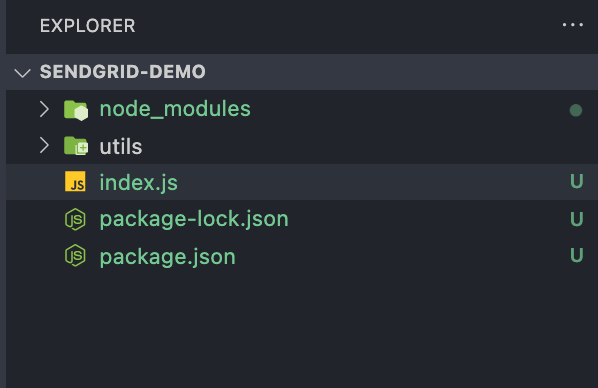
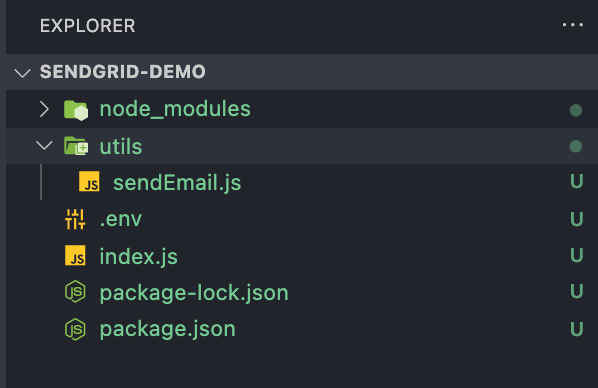
Logged to the console, GREAT!!! now we can begin integrating the send email workflow. In the same directory as index.js file create a utils directory either manually or run this command:
mkdir utils
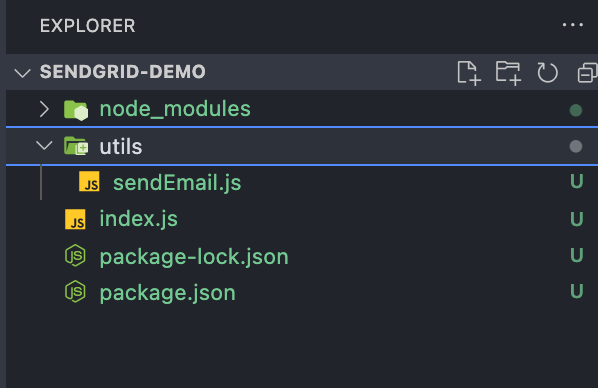
This will create a new utils directory for us, let's create a new file sendEmail.js inside the utils
directory :
Run this code or create it manually in the utils directory
cd utils && touch sendEmail.js
 Good! we need to require sendGrid in
 sendEmail.js :
const sendgrid = require ('@sendgrid/mail');
And configure it to send emails (add this code just below the import) :
sendgrid.setApiKey(process.env.SENDGRID_API_KEY);

 const sendEmail = ({ to, from, subject, text, html }) => {
    const msg = { to, from, subject, text, html };
    return sendgrid.send(msg);
};

module.exports = sendEmail;
The sendEmail.js file should look like this :
const sendgrid = require ('@sendgrid/mail');


sendgrid.setApiKey(process.env.SENDGRID_API_KEY);

 const sendEmail = ({ to, from, subject, text, html }) => {
    const msg = { to, from, subject, text, html };
    return sendgrid.send(msg);
};

module.exports = sendEmail;
Now this is where the sendGrid API Key we created comes to play, if you check the above code, you can see that we are setting the api key from the environment variables, but it does not exist in our project yet so let's create a new .env file to embed the SENDGRID_API_KEY, in the top level directory (same as index.js) run:
touch .env
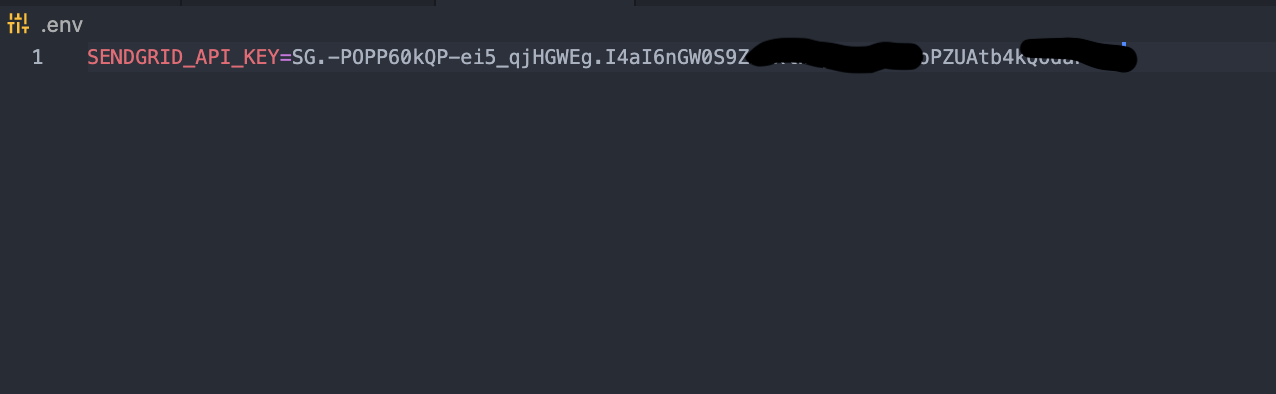
Open the .env file and add the api key :
SENDGRID_API_KEY=your api key goes here
 Great, we are done setting up the sendGrid email client but lastly we need to make the
 sendEmail.js file pay attention to the environment variable so let's configure it by adding this code above in sendEmail.js file (line 1):
require('dotenv').config();
Now let's open index.js file and require the sendEmail function we exported so we can configure it to work with express :
const sendEmail = require ('./utils/sendEmail');
And add this code below :
app.post('/api/test-email', async(req, res)=>{
    try {
        await sendEmail({
            //the client email
            to: 'address you intend sending email to’(Try with any of your emails)',
            //sendGrid sender id
            from: 'your real email goes here (the one you signed up with)',
            subject: 'Does this work?',
            text: 'Glad you are here .. yes you!',
            html:'<strong>It is working!!</strong>'
        });
        res.sendStatus(200);
    } catch (error) {
        console.log(error);
        res.sendStatus(500);
    }
});
So the complete index.js file should look like this :
const express = require ('express');
const app = express();
const port= 3000;
const sendEmail = require ('./utils/sendEmail');

//don't forget to set ( to and from email)

app.post('/api/test-email', async(req, res)=>{
    try {
        await sendEmail({
            //the client email
            to: 'address you intend sending email to’(Try with any of your emails)',
            //sendGrid sender id
            from: 'your real email goes here (the one you signed up with)',
            subject: 'Does this work?',
            text: 'Glad you are here .. yes you!',
            html:'<strong>It is working!!</strong>'
        });
        res.sendStatus(200);
    } catch (error) {
        console.log(error);
        res.sendStatus(500);
    }
});

app.listen(port, () =>{
    console.log(`Server is listening on port ${port}`);
});
this is how i set up my emails, you can follow the same pattern
 to: 'evansansongg+test@gmail.com',

 from: 'evansansongg@gmail.com',
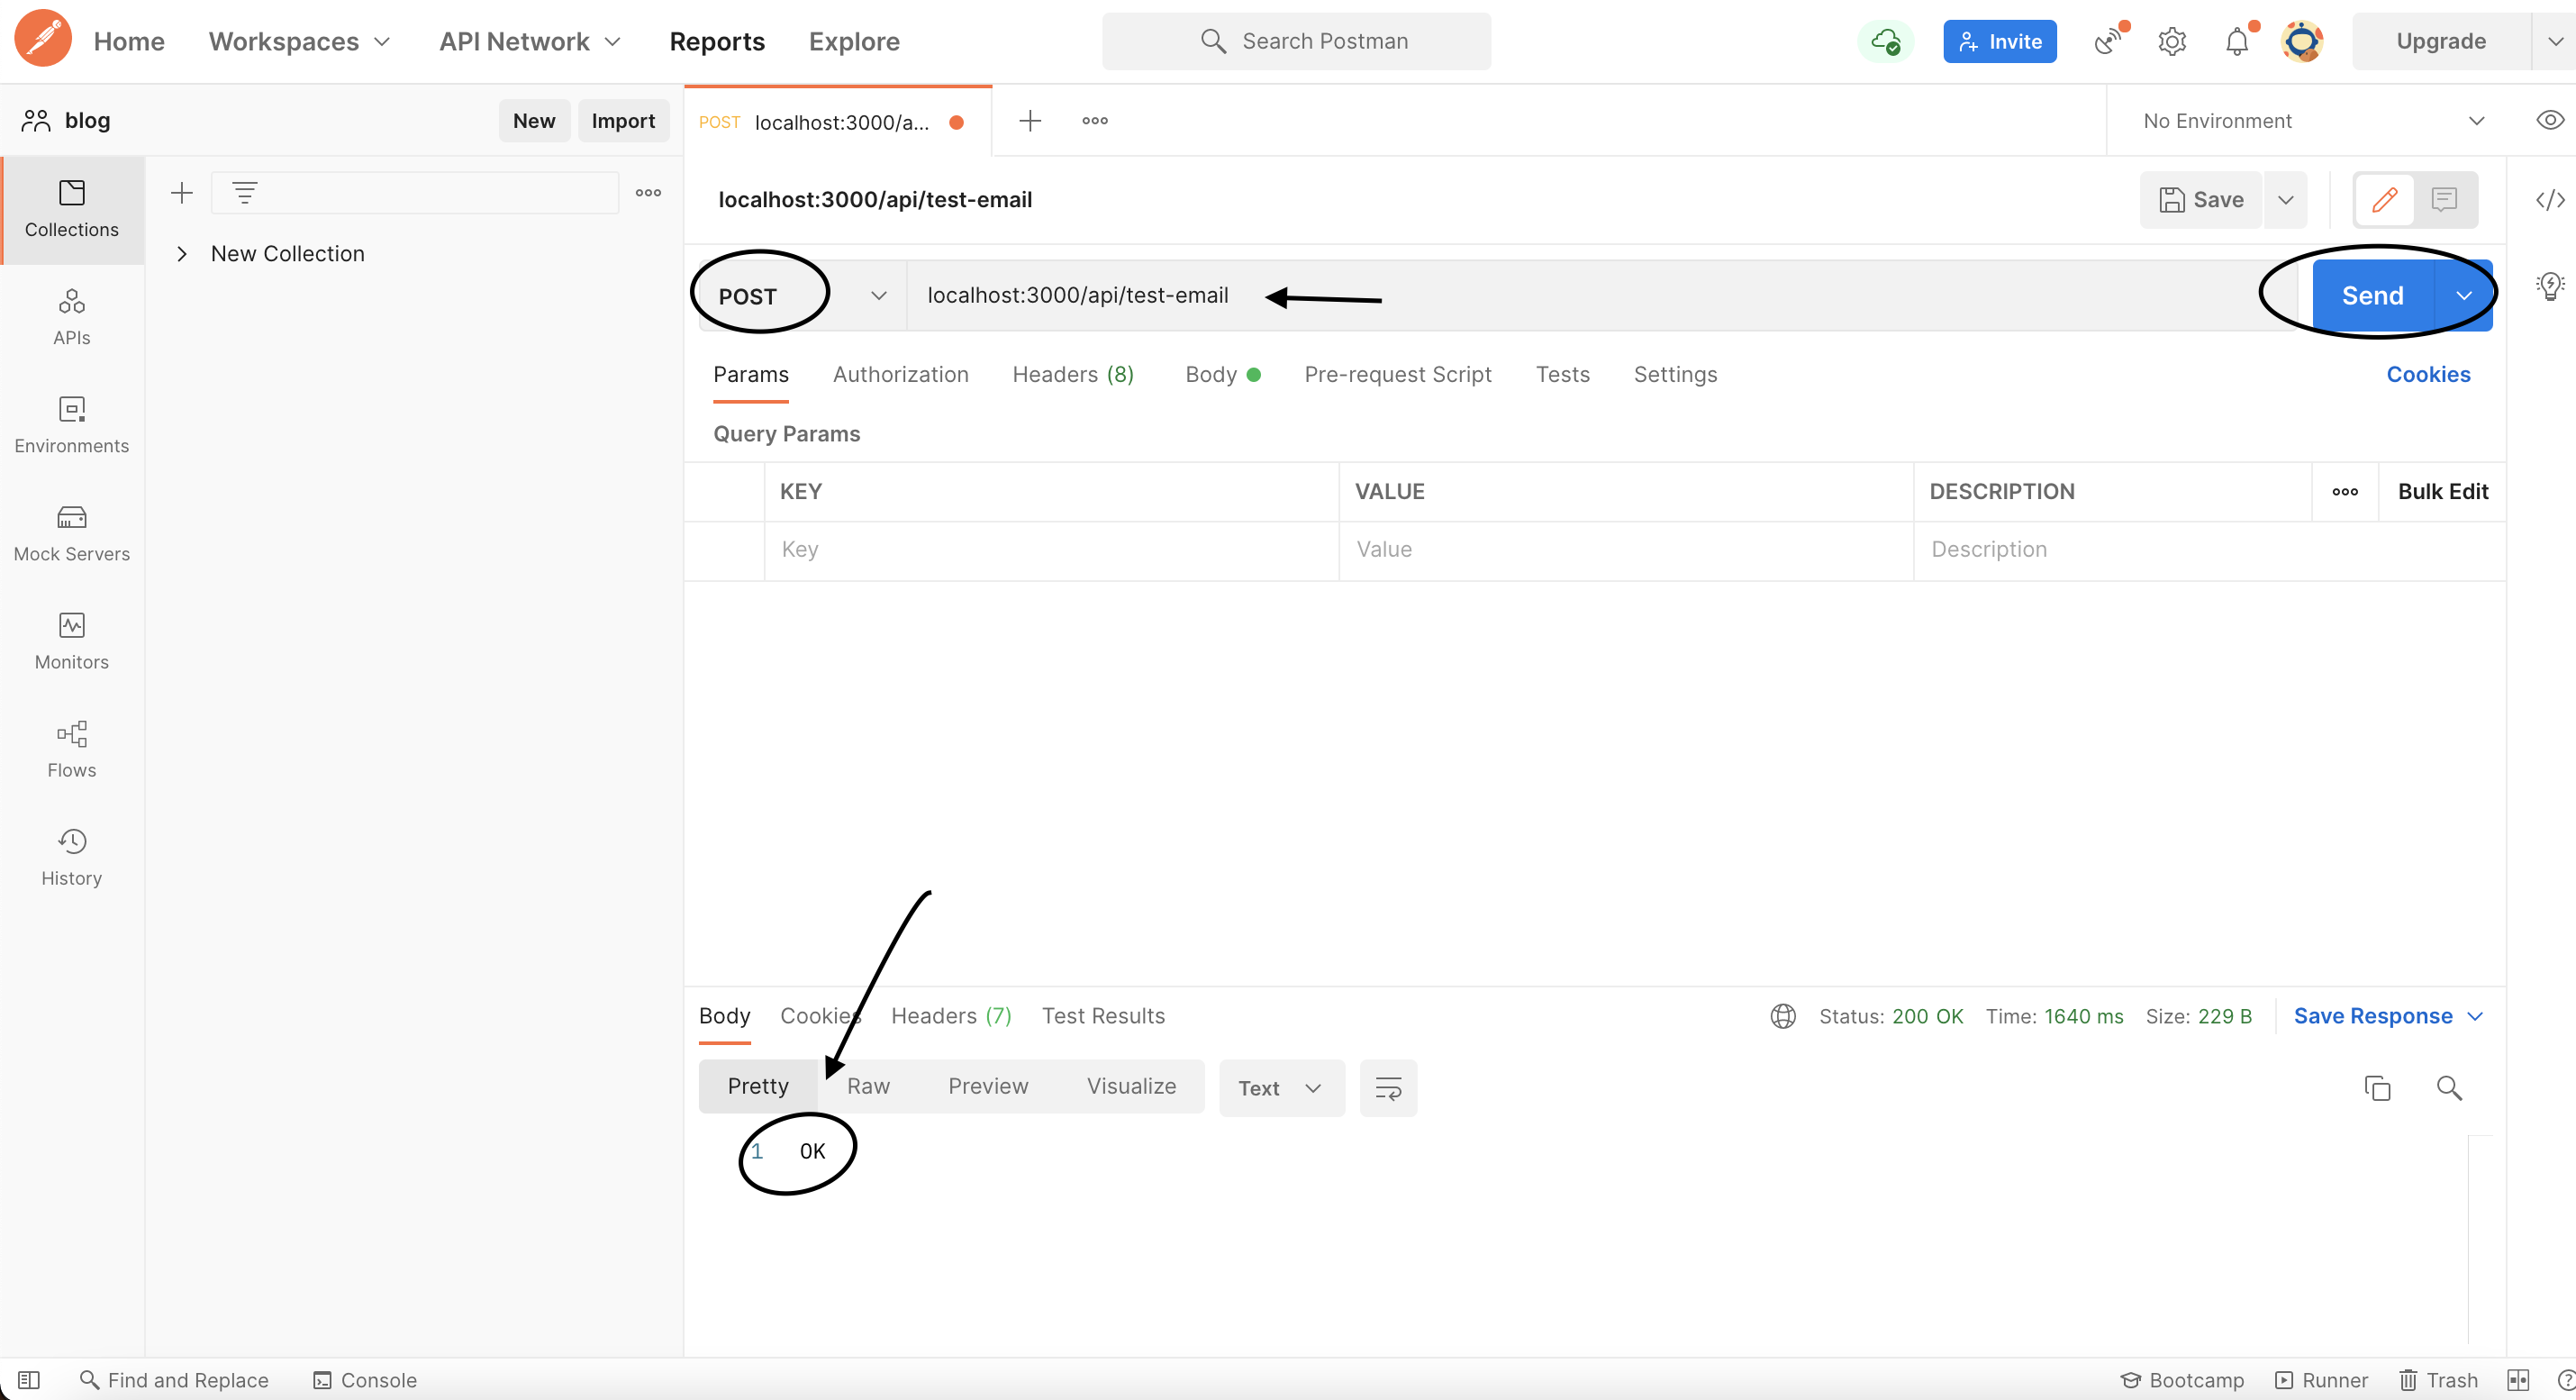
Congrats for making it up to this point, we can now test our route with postman.
start the development server and send a POST request to localhost:3000/api/test-email
:
node index
Now open postman and send the request and if everything went smooth you should get ok response.
And when you check your inbox, we can see the email has been delivered successfully (if not in your inbox you can check your spam messages and mark it as not spam and every subsequent email will be delivered to your inbox)
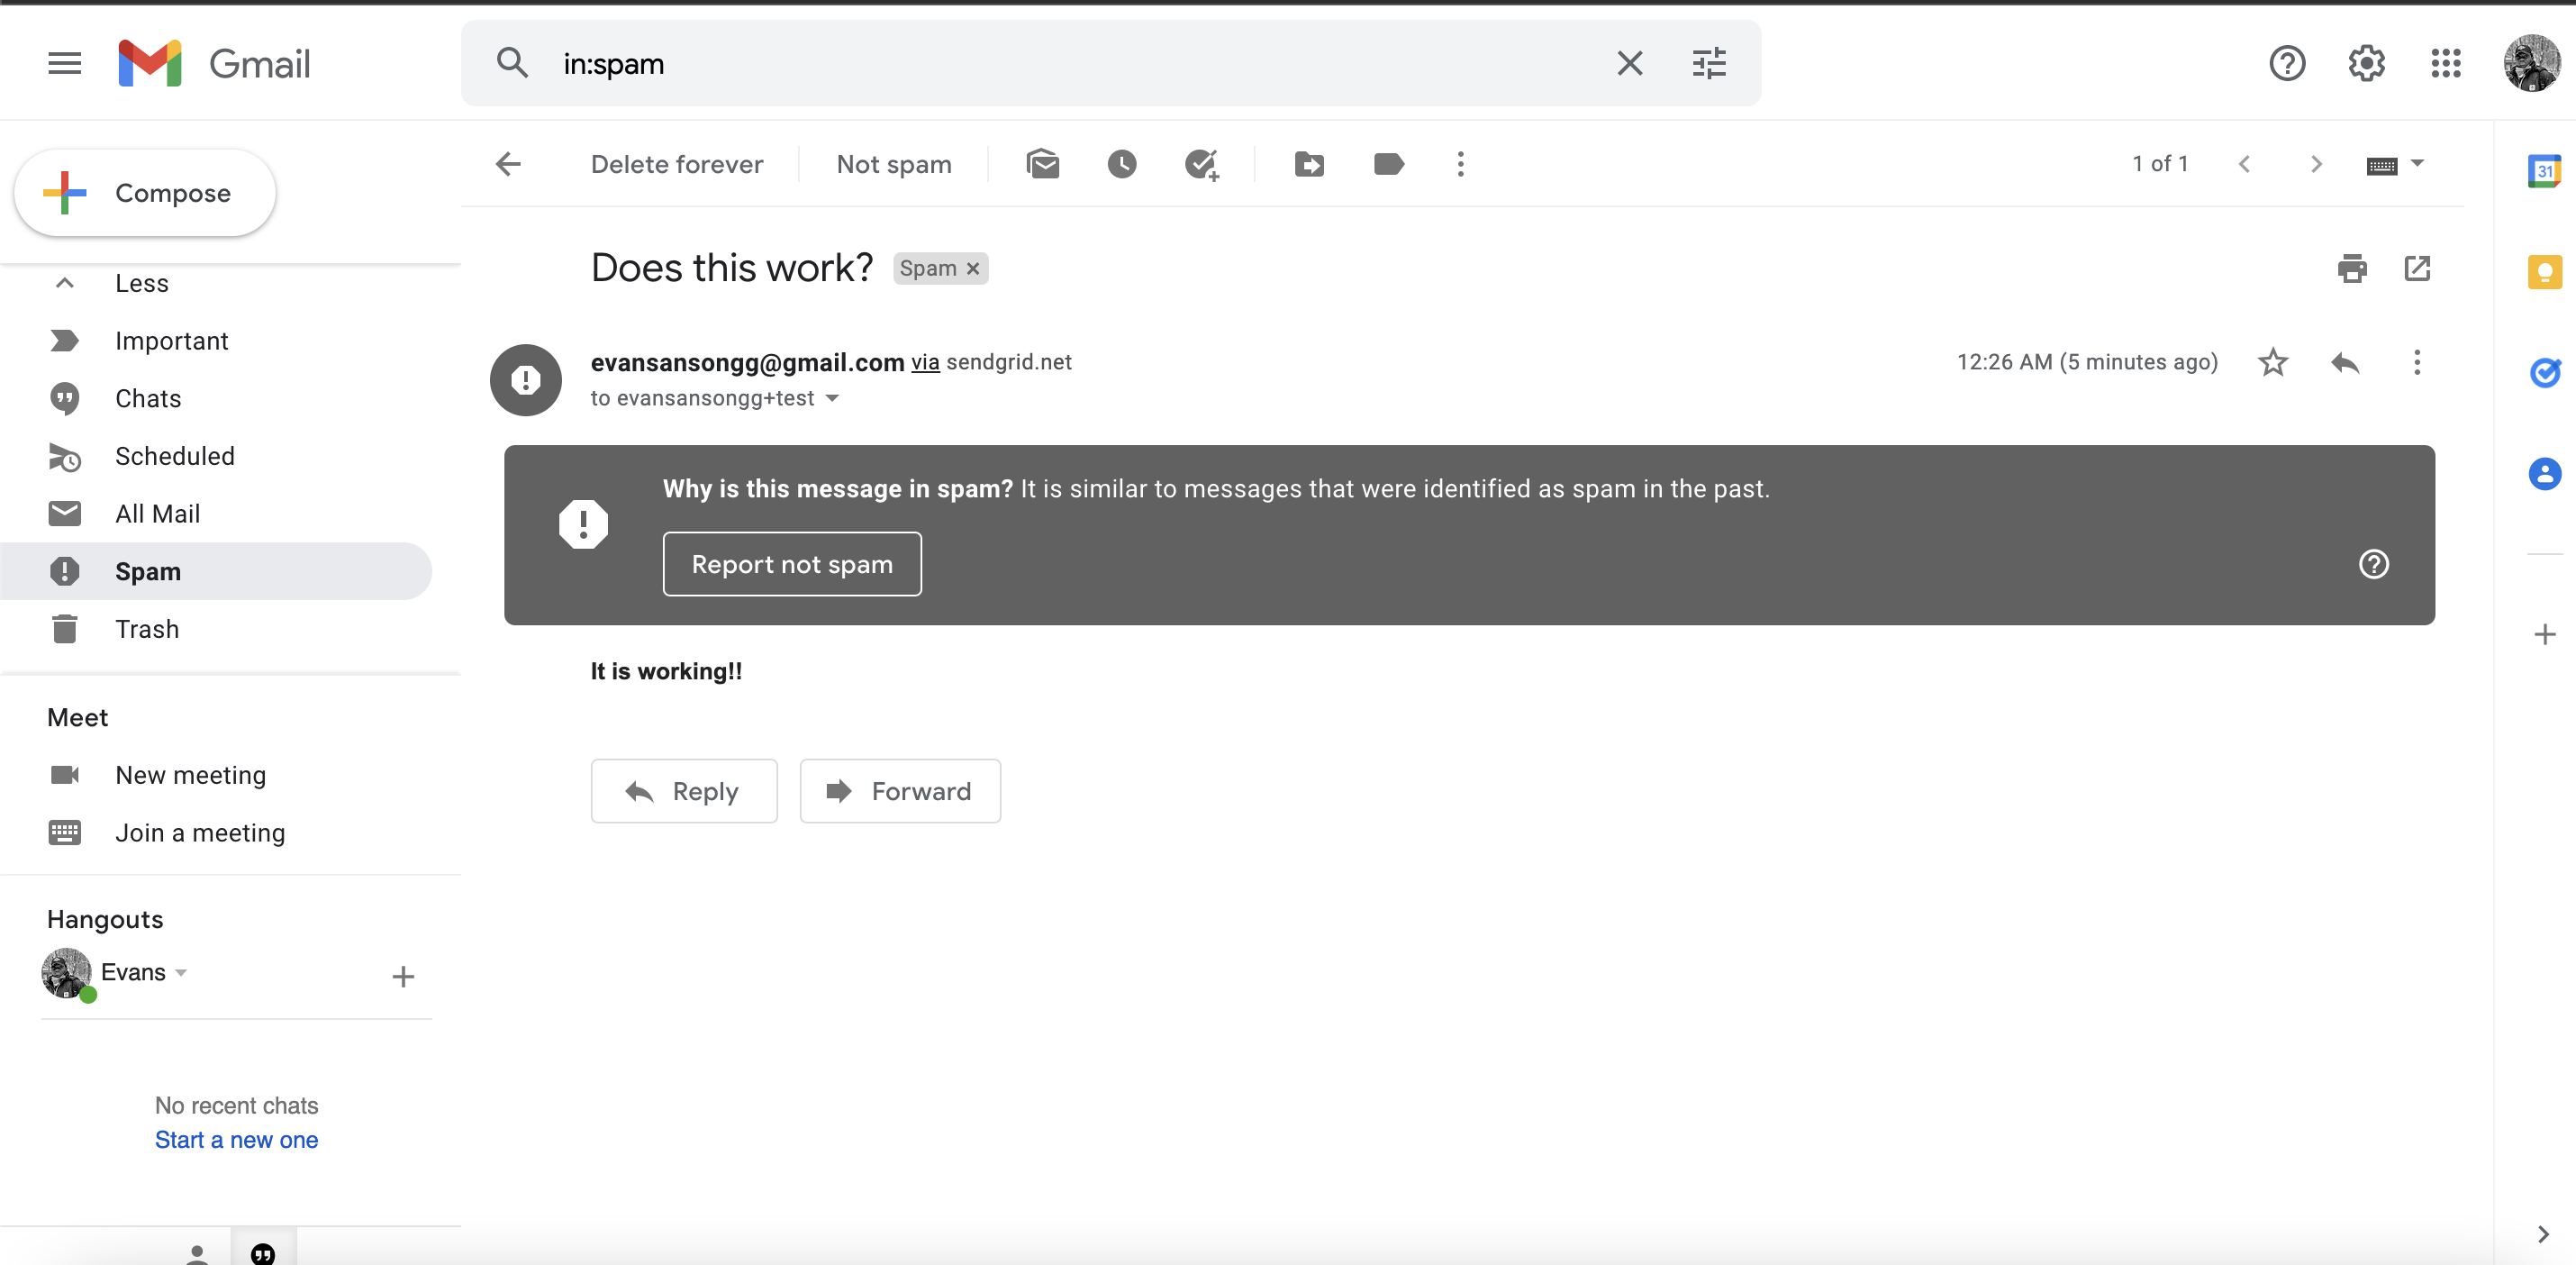
CONGRATULATIONS 🎉🔥
Conclusion
In this article, you’ve learned how to use a transactional email service (in this case, SendGrid) to send email from within NodeJs application, hopefully this helps someone out there!!!
If you run into any problem , you can get the complete code here, comment below or get in touch with me on my Linkedin Instagram Twitter Good luck!


